So last semester, I wanted to hang pictures on my wall with twine and mini-clothespins. It looked like this:

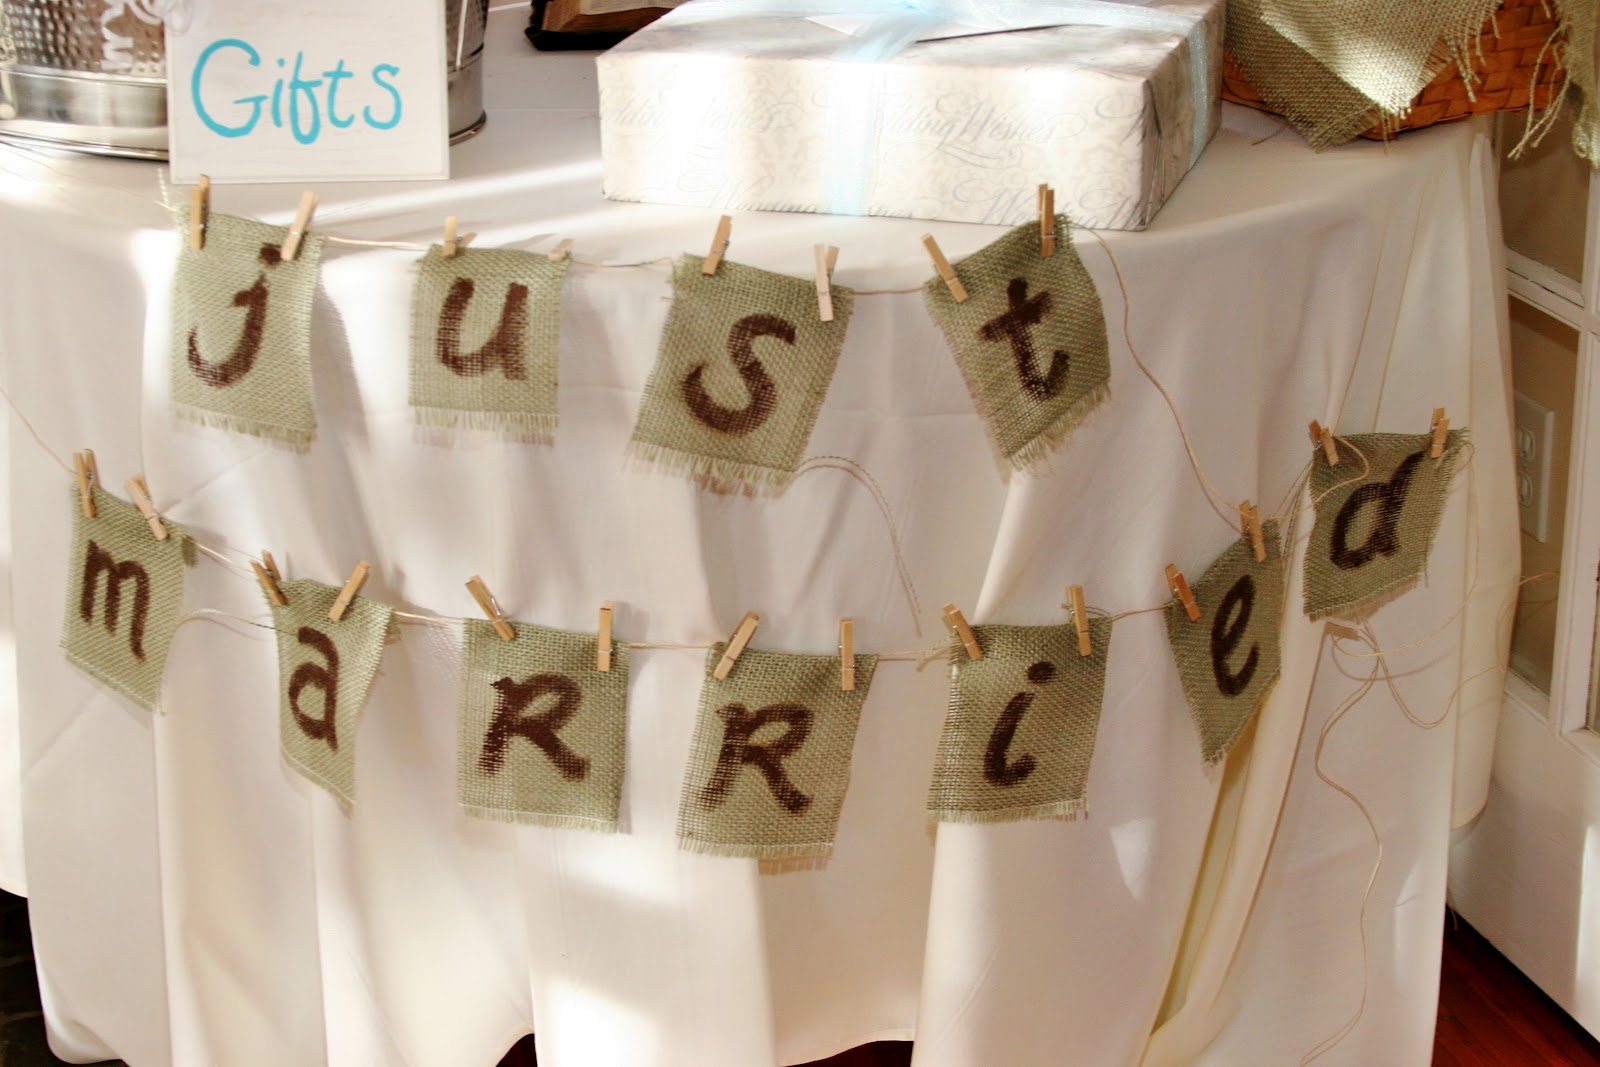
And then I saw these really cute pictures on Pinterest of banners on tables at wedding receptions. I thought it would be cool to mesh the ideas, and what I came up with was twine, mini-clothespins, and burlap squares with painted letters on them. I ordered the burlap, but totally ordered the wrong color by accident. I was surprised when I opened the box to find a light green colored burlap. But I figured since we were doing outdoorsy type decorations, with trees and all, that green would work just fine. I got some brown paint, and started painting letters. Maya was here helping out, she cut all the squares. As we finished the squares, we strung them up in the kitchen to dry.

And they ended up looking like this:


The other big project was making the signs. There were 5 signs - "Gifts" (which you can see above) , "How sweet it is to be loved by you" (on the sweets table), "Mr" and "Mrs" (to go on either side of the bride and groom's table), and "Here comes the bride" (to be carried by our ring bearer). I decided I didn't want Landon, Jeff's nephew, to carry a pillow down the aisle, and I had seen this cute idea of a "Here comes the bride" sign from Rachael and Geoff's wedding (of Geoff Duncan Photography). So I went to Habitat for Humanity's Restore, and bought pieces of do-it-yourself hardwood flooring, painted them white, sanded off a bunch of paint for a distressed look, and painted words on them in teal paint.


And then I saw these really cute pictures on Pinterest of banners on tables at wedding receptions. I thought it would be cool to mesh the ideas, and what I came up with was twine, mini-clothespins, and burlap squares with painted letters on them. I ordered the burlap, but totally ordered the wrong color by accident. I was surprised when I opened the box to find a light green colored burlap. But I figured since we were doing outdoorsy type decorations, with trees and all, that green would work just fine. I got some brown paint, and started painting letters. Maya was here helping out, she cut all the squares. As we finished the squares, we strung them up in the kitchen to dry.

And they ended up looking like this:


The other big project was making the signs. There were 5 signs - "Gifts" (which you can see above) , "How sweet it is to be loved by you" (on the sweets table), "Mr" and "Mrs" (to go on either side of the bride and groom's table), and "Here comes the bride" (to be carried by our ring bearer). I decided I didn't want Landon, Jeff's nephew, to carry a pillow down the aisle, and I had seen this cute idea of a "Here comes the bride" sign from Rachael and Geoff's wedding (of Geoff Duncan Photography). So I went to Habitat for Humanity's Restore, and bought pieces of do-it-yourself hardwood flooring, painted them white, sanded off a bunch of paint for a distressed look, and painted words on them in teal paint.

painting on the kitchen floor

the signs, pre-sanding

Landon!

how sweet it is.... to eat lots of candy :)

We just LOVE your creativity!! HUGS and KISSES
ReplyDeleteGrandma and Grandpa
Love these!!!
ReplyDelete